A tiny entry can become the most stressful corner of a rental in summer: damp shoes, bags, umbrellas, packages, and a door that barely opens. A shoe cabinet helps only when it protects airflow and the exit path. This June 2026 guide turns the cabinet into a practical humidity and odor-control system rather than another box that hides problems.
Entry decision table
| Pressure | Better setup | Avoid | Why it matters |
|---|---|---|---|
| Narrow door swing | Low cabinet outside the arc | Tall unit behind the door | Prevents blocked exits |
| Damp shoes | Drying tray first | Closing wet shoes inside | Reduces odor and mold risk |
| Summer heat | Ventilated shelves | Plastic bins packed tight | Lets moisture escape |
| Rental limits | Freestanding furniture | Drilling without permission | Reduces damage disputes |
| Daily clutter | One landing zone | Shoes across walkway | Cuts trip risk |
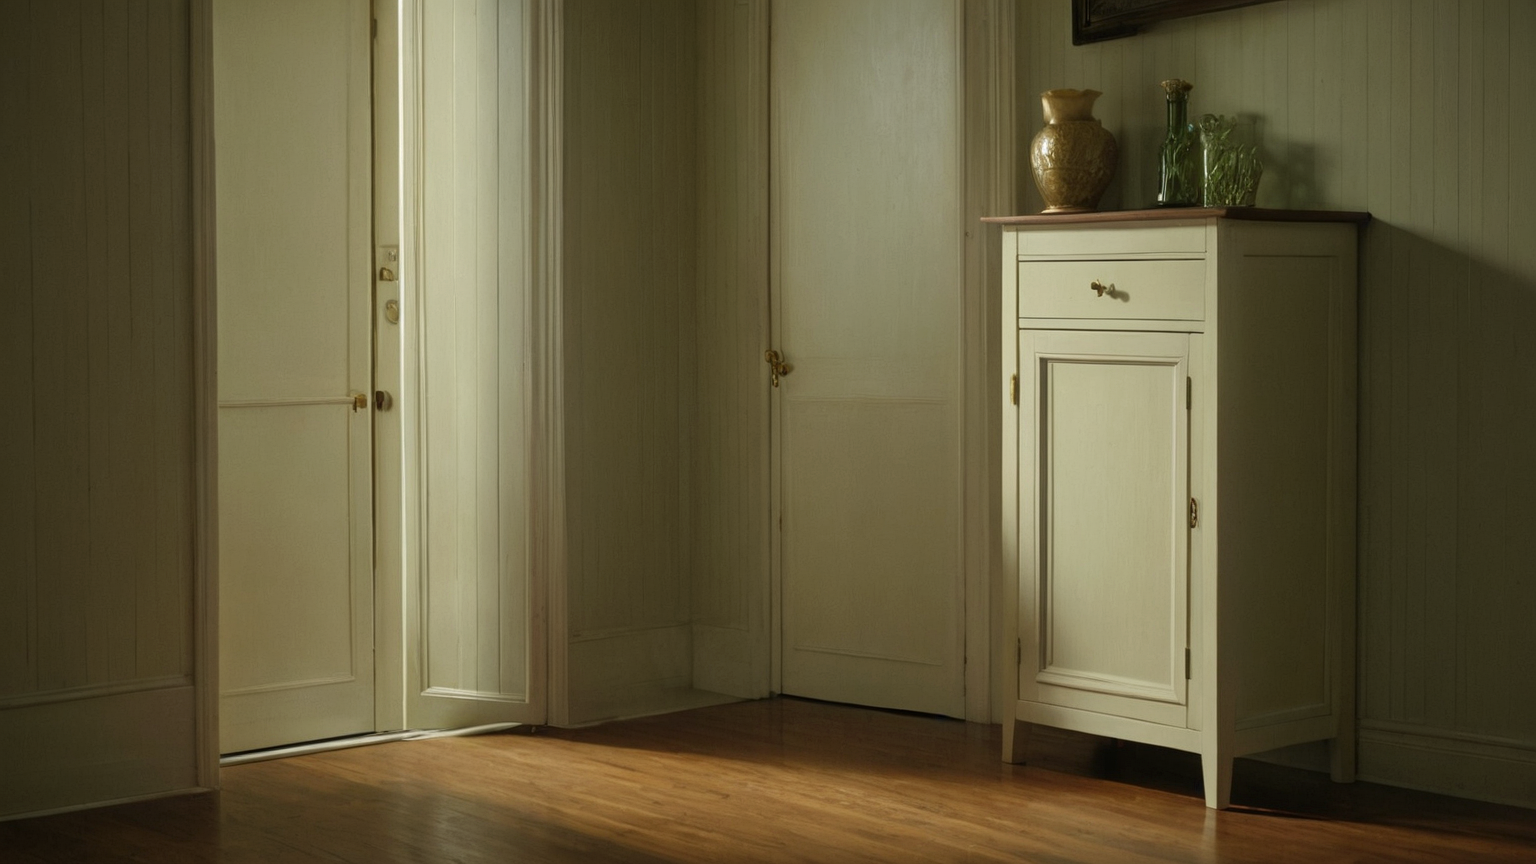
Measure the door before the cabinet
Open the entry door fully and mark the swing zone with painter’s tape or a temporary object. The shoe cabinet must not narrow the safe path when the door is open, when someone carries groceries, or when emergency access is needed. A beautiful cabinet that slows entry and exit is the wrong size.
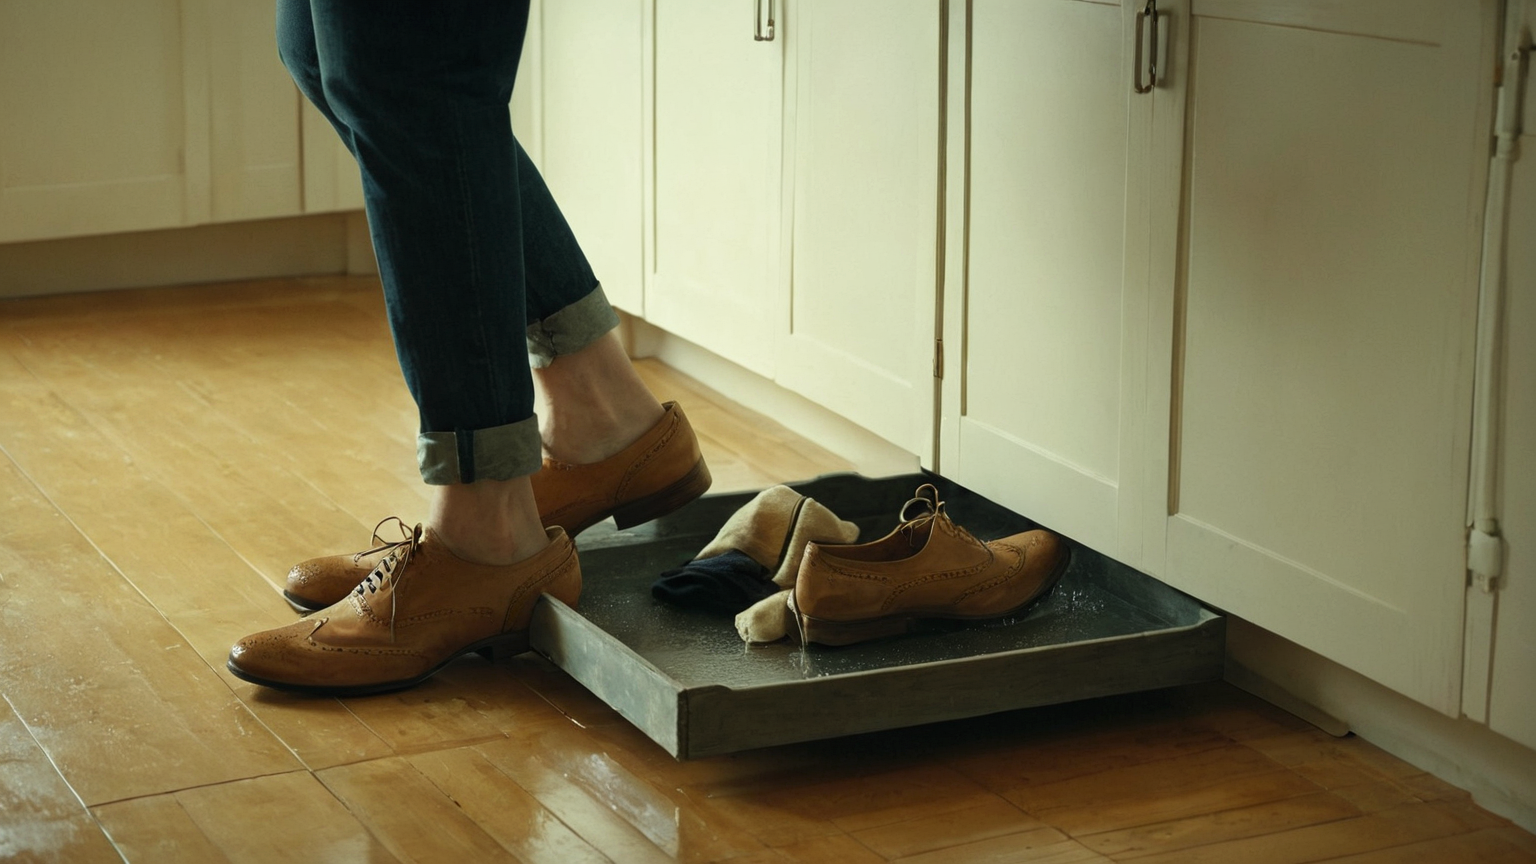
Dry first, store second
Shoes that are warm, wet, or muddy should not go straight into a closed cabinet. Use a washable tray, brush off debris, and allow airflow before storage. If shoes smell strongly even after drying, inspect insoles, socks, and cleaning habits rather than adding stronger fragrance. Odor is usually a moisture and hygiene signal.
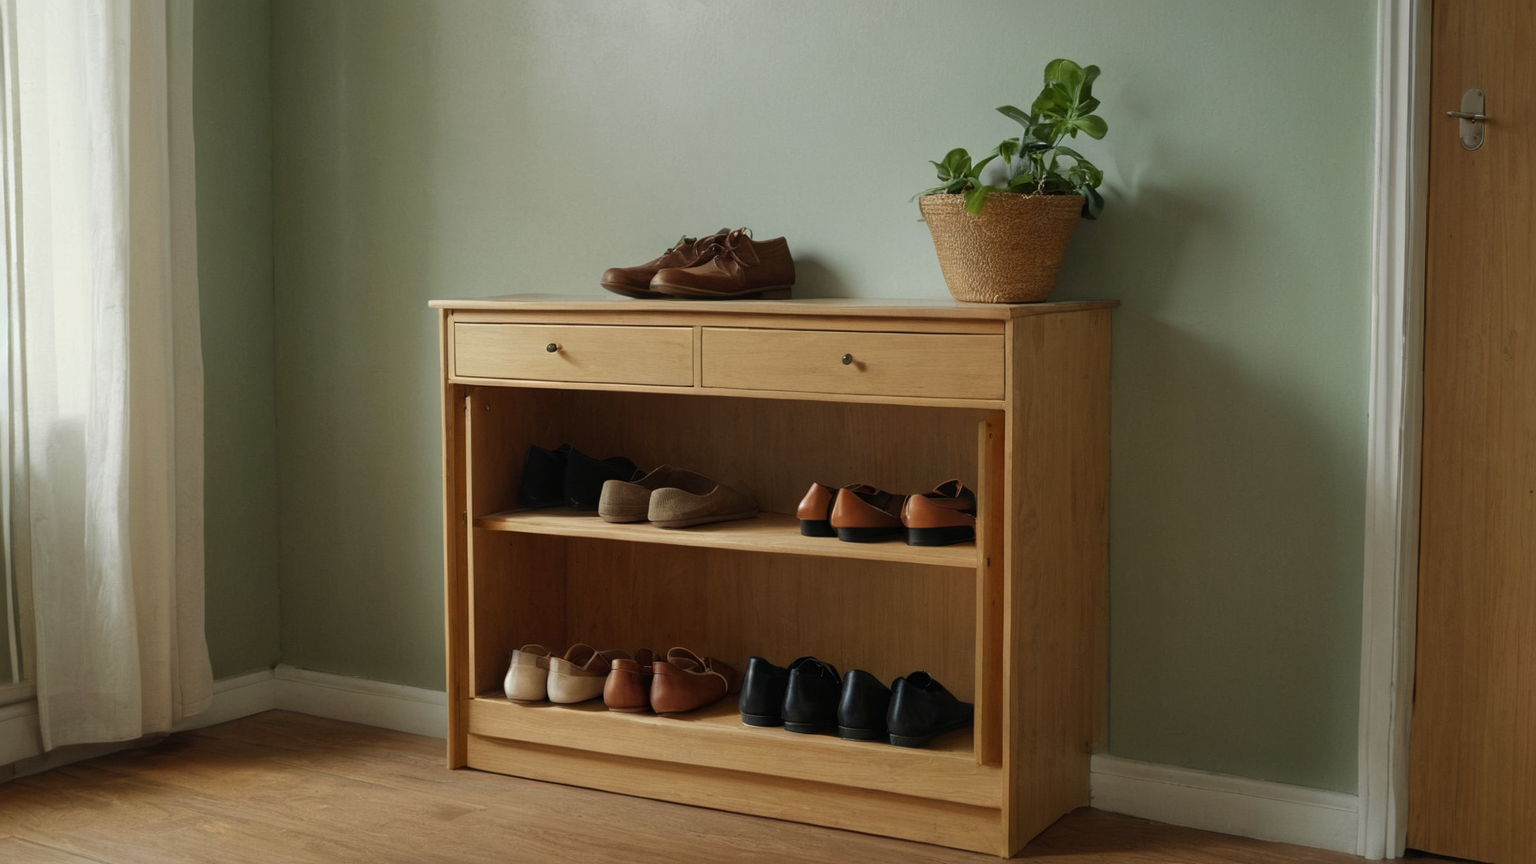
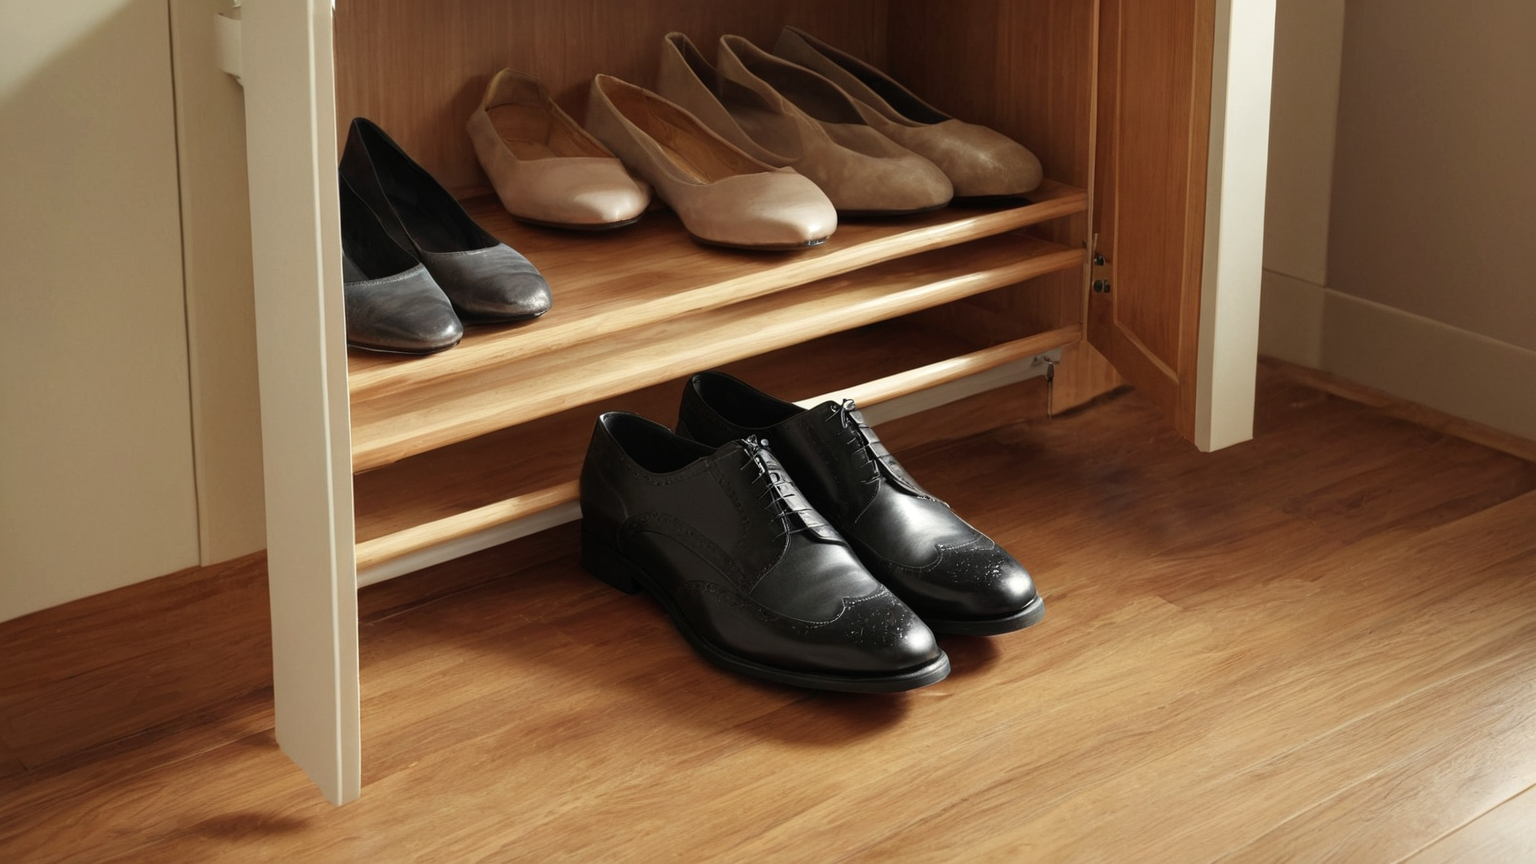
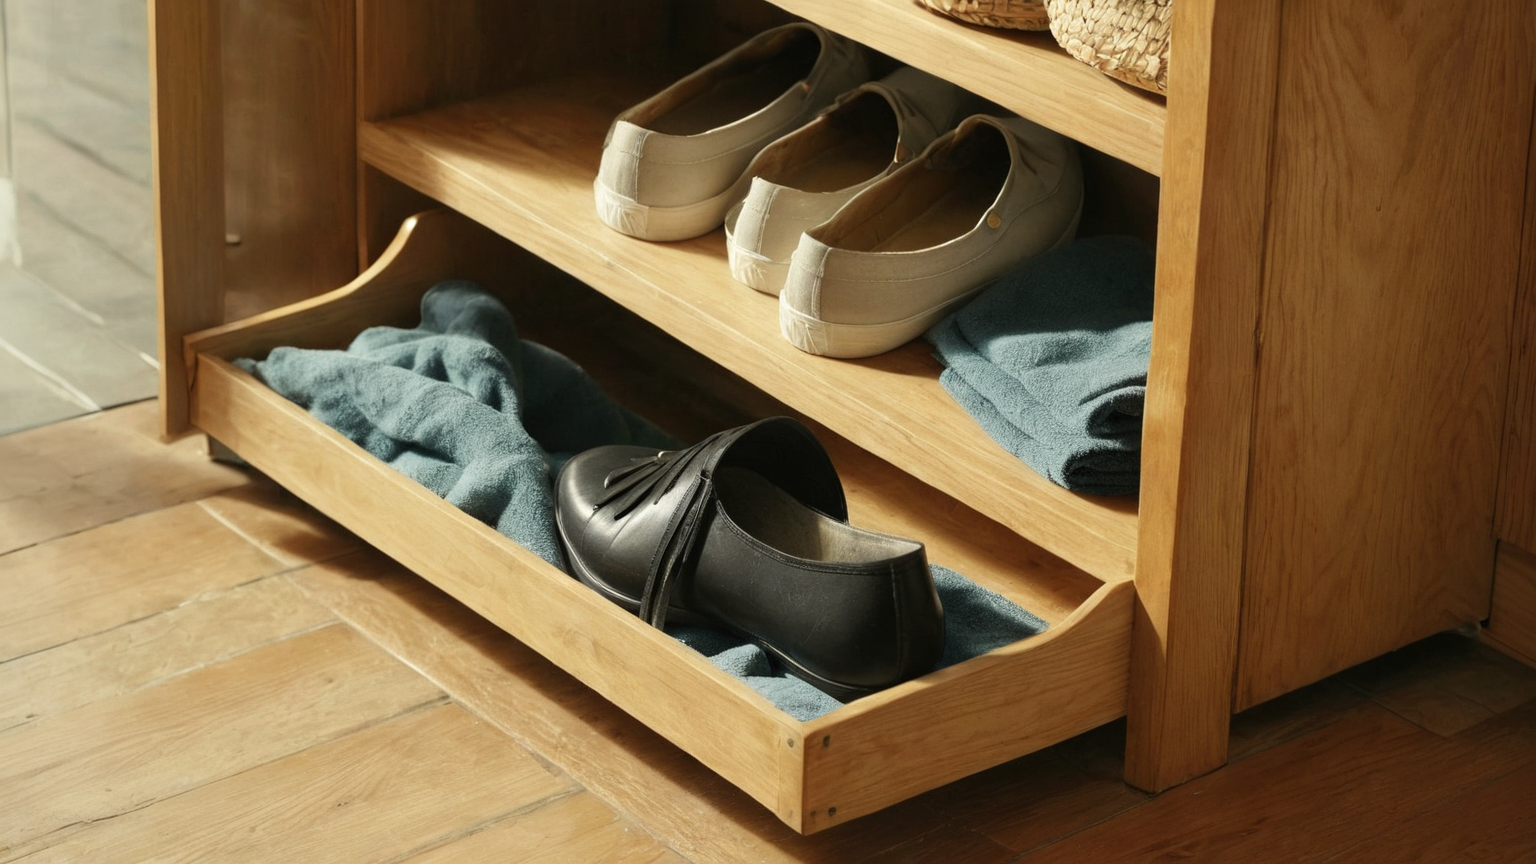
Keep shelves breathable
Leave gaps between pairs, avoid sealed plastic boxes for daily shoes, and do not fill every shelf to the front edge. A small open-backed or slatted design may work better than a deep closed cabinet in humid weather. If the cabinet backs onto a cold or damp wall, pull it forward slightly and check for condensation or musty smell.
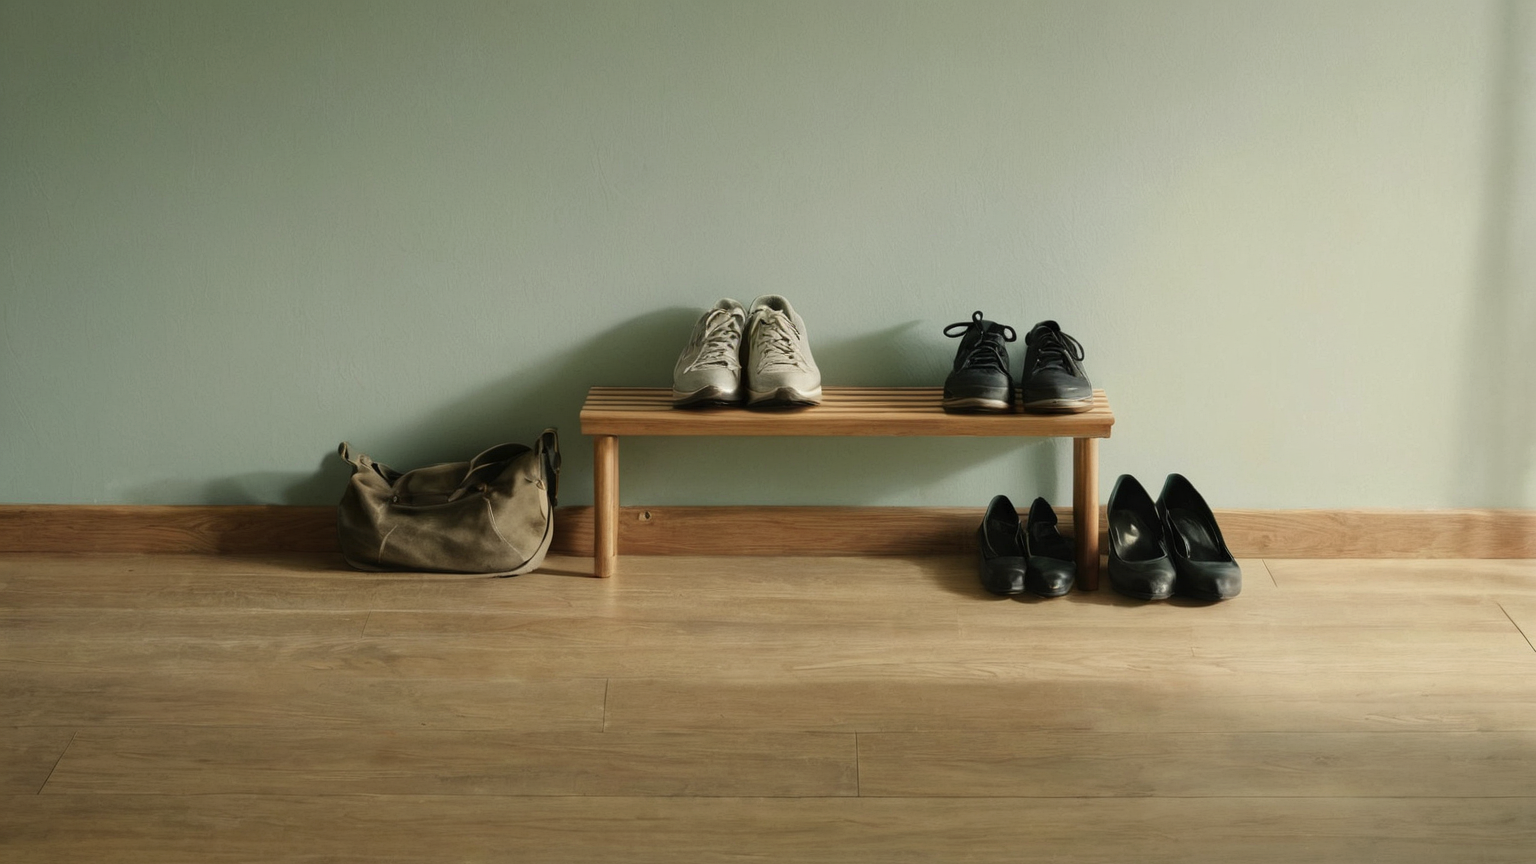
Create a dirty-to-clean sequence
The entry works best with a short route: outdoor shoes land on a tray, dry shoes move into the cabinet, bags go on one hook or bench, and cleaning cloths live nearby. This sequence protects the living area without turning the doorway into a storage closet. Keep the system visible enough that guests can follow it.
Renter-safe choices
Use freestanding furniture, removable felt pads, washable trays, and tension or over-door hooks only where they do not damage finishes. Do not block vents, sprinklers, electrical panels, or fire-safety equipment. If persistent moisture comes from building leaks or poor ventilation, document it calmly and contact maintenance instead of hiding it with decor.
Weekly cleaning rhythm
Empty one shelf at a time, wipe dust and grit, dry the surface, and rotate shoes that have not been used. Wash or replace liners when they hold odor. During heat waves, reduce the number of shoes stored in the entry so air can move. A smaller, cleaner cabinet often works better than a larger one packed full.
What not to buy first
Do not start with a fragrance dispenser, sealed bin set, or tall cabinet. Start with clearance, drying, airflow, and cleaning. If you later buy something, choose the smallest item that solves the verified problem. This keeps the article useful and avoids affiliate-style filler.
Summary
A micro-entry shoe cabinet should keep the door clear, let damp shoes dry, and make cleaning easier. The AdSense-readiness improvement is practical trust: readers get safety, maintenance, rental boundaries, and non-commercial fixes before shopping.